ecforce integration
1. Issue an API authentication token in ecforce
Sign in to the ecforce admin
Go to Change settings > Members / permissions > Manage members and click Configure
Create a user for the API connection with the Create button
※For the role, choose one that has API access enabled, such as admin.
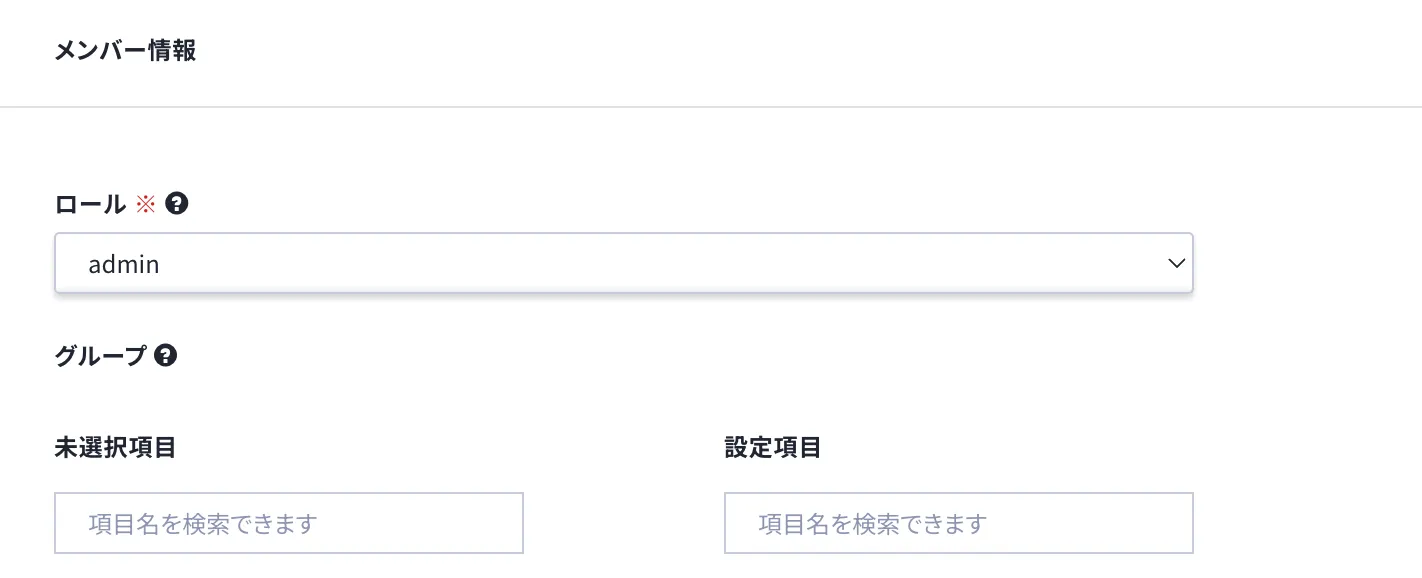
Go back to the member management screen and search for the user you created in step 3
Click Details for the API connection user in the search results

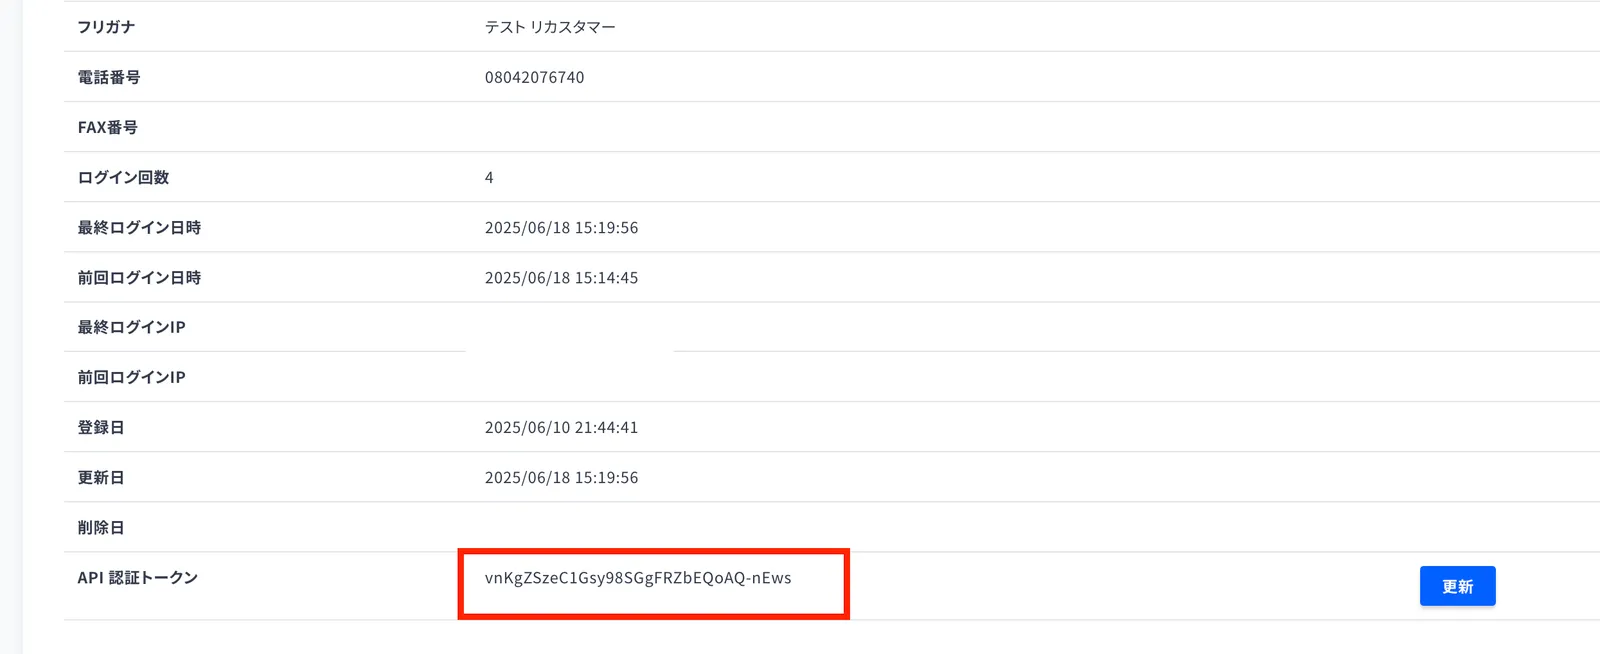
On the details screen, click Update under API authentication token

An API authentication token is issued. Copy the value.
2. Enter the keys in Recustomer
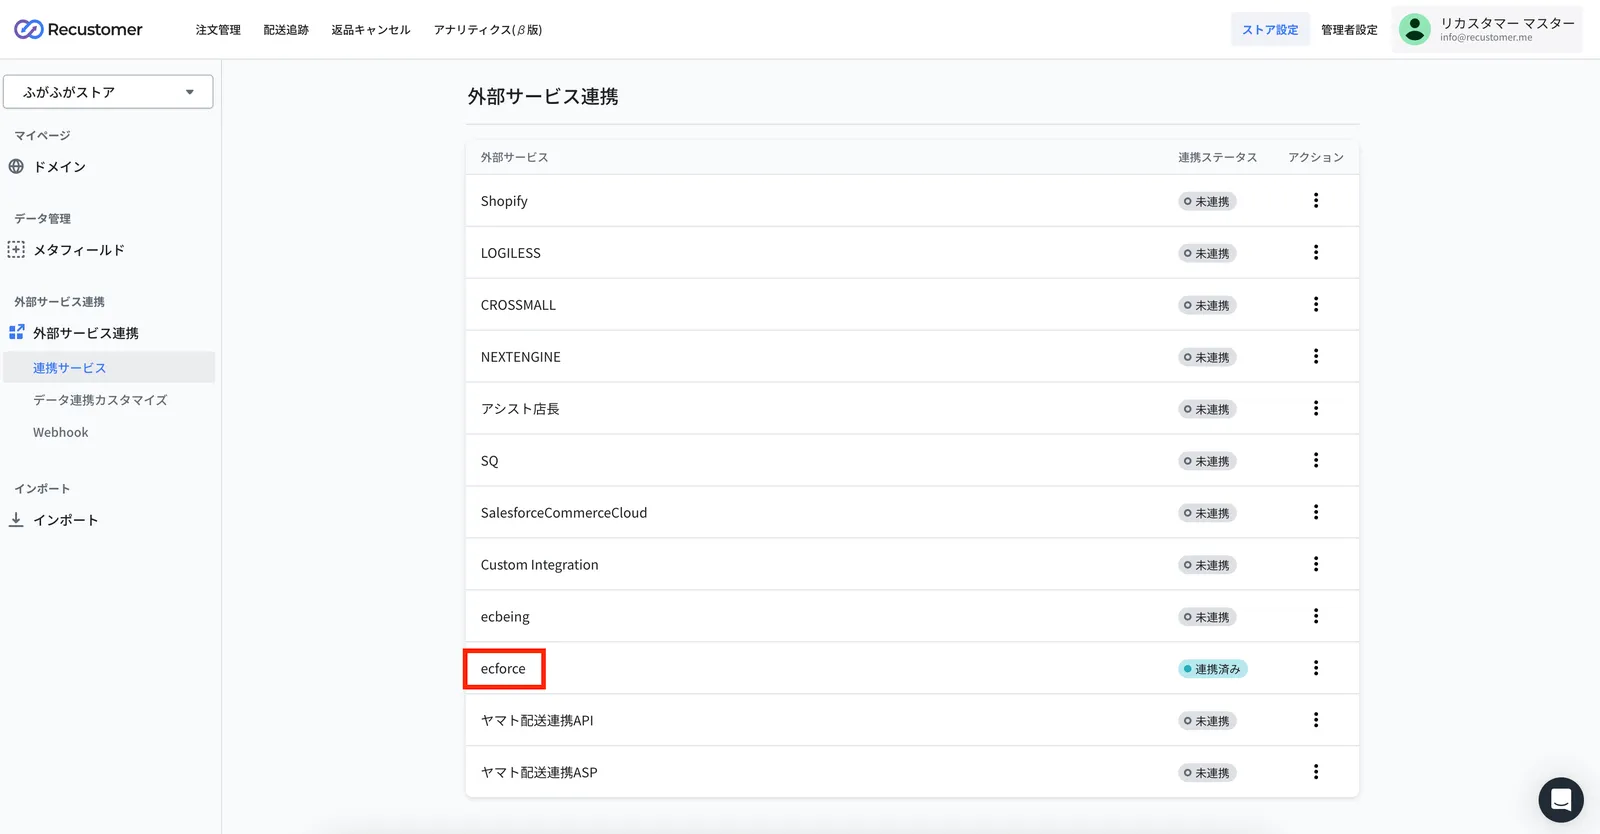
In Recustomer, go to Settings > External service integrations > Integrations > ecforce
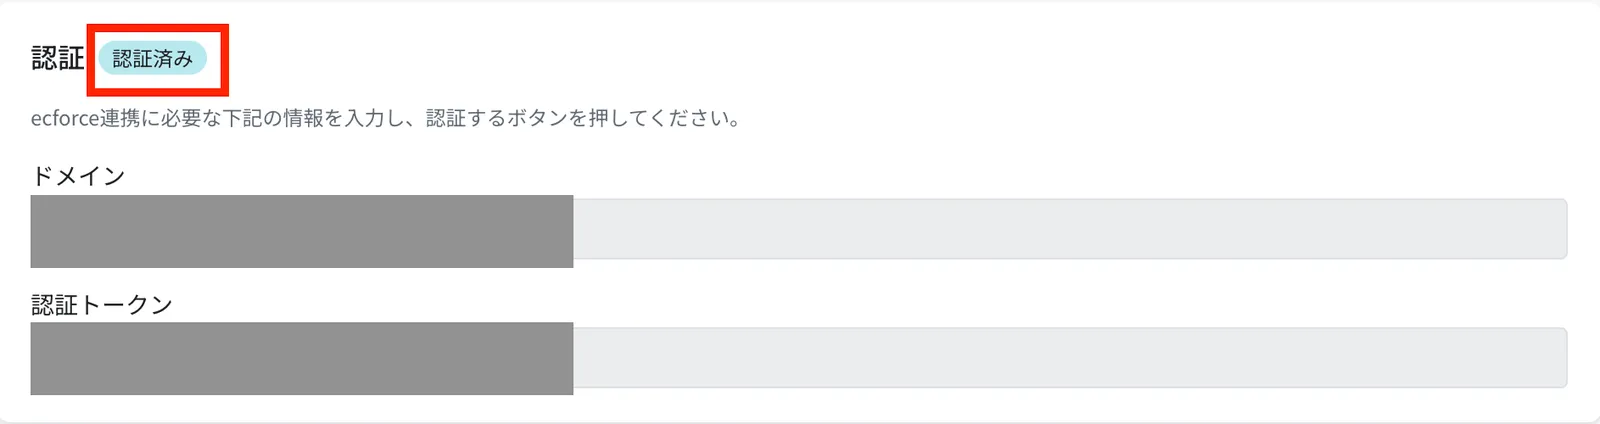
Enter the domain and the authentication token, then click Authenticate
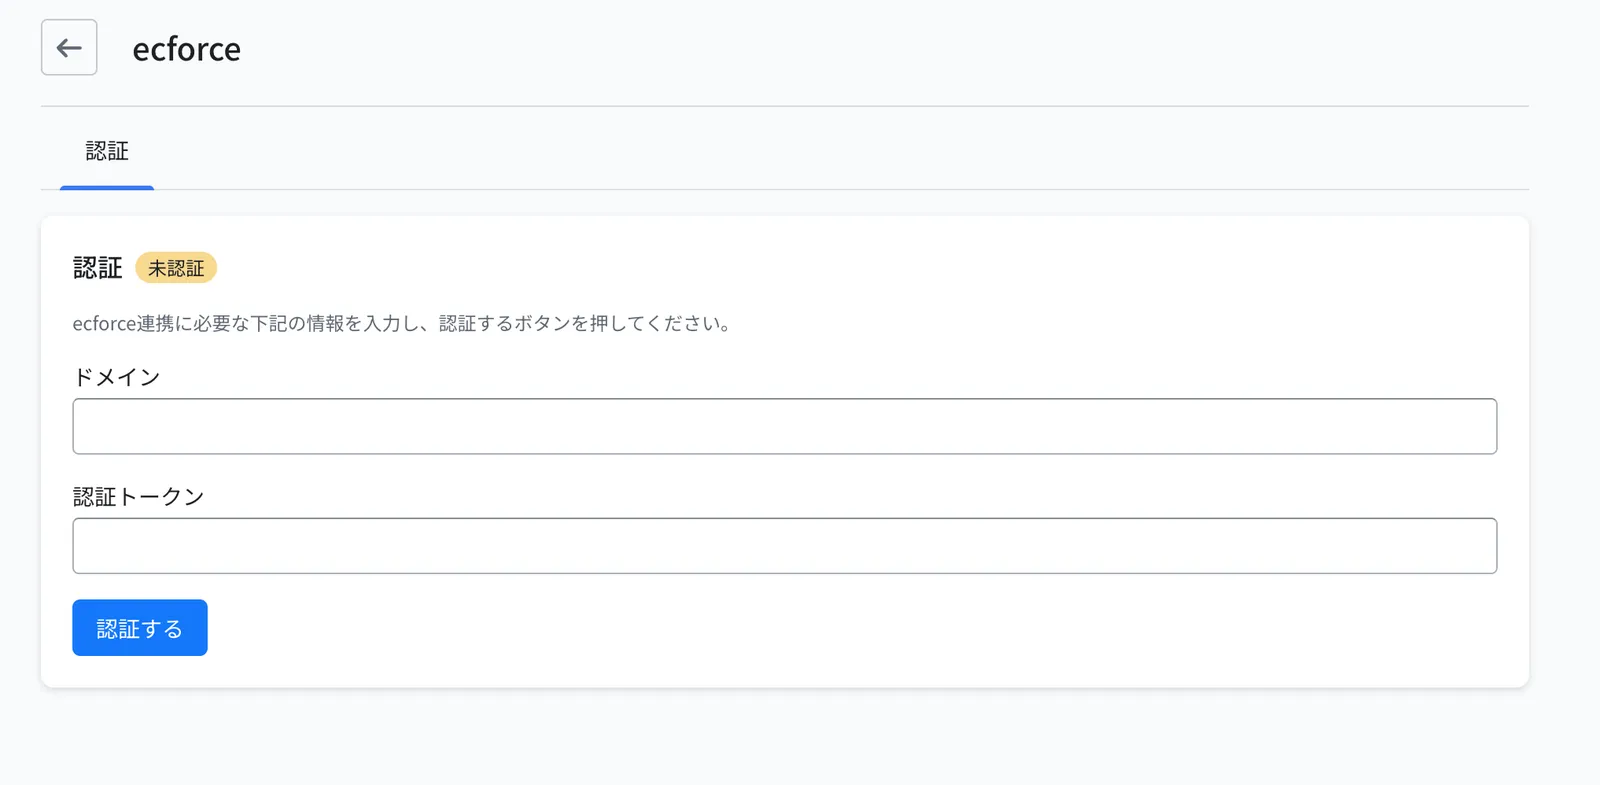
Field Value to enter Domain Enter your ecforce domain. It is part of the URL you see when signed in to the ecforce admin.
Example: for https://sample.ec-force.com/admin, the domain is "sample.ec-force.com"Authentication token Enter the API authentication token you copied in step 7 of section 1 The setup is complete when the status changes to Authenticated
3. Order status mapping
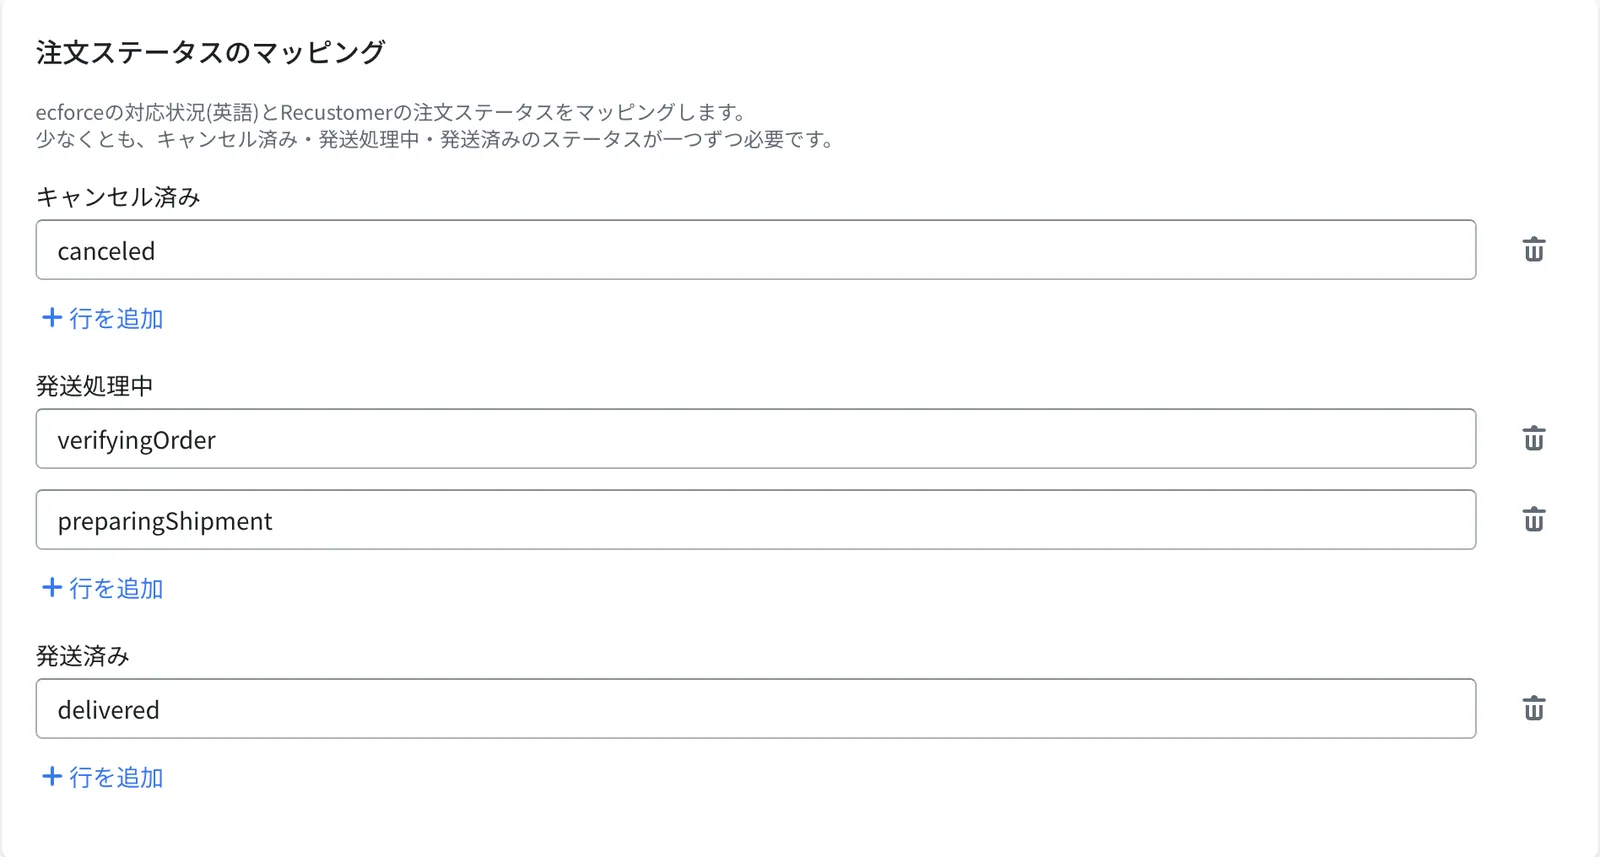
Go to Store settings > External service integrations > select ecforce > Authentication > Order status mapping, and map Recustomer's order statuses to ecforce's handling statuses
Important
Recustomer cannot retrieve orders whose handling status is not registered here. Make sure every handling status is registered under one of Cancelled, Preparing for shipment, or Shipped.
Field What to set Cancelled Enter the name (in single-byte alphanumerics) of the handling status that means "cancelled" in ecforce Preparing for shipment Enter the handling status (in single-byte alphanumerics) that means "not yet shipped" in ecforce Shipped Enter the handling status (in single-byte alphanumerics) that means "already shipped" in ecforce ※Enter one handling status per line.
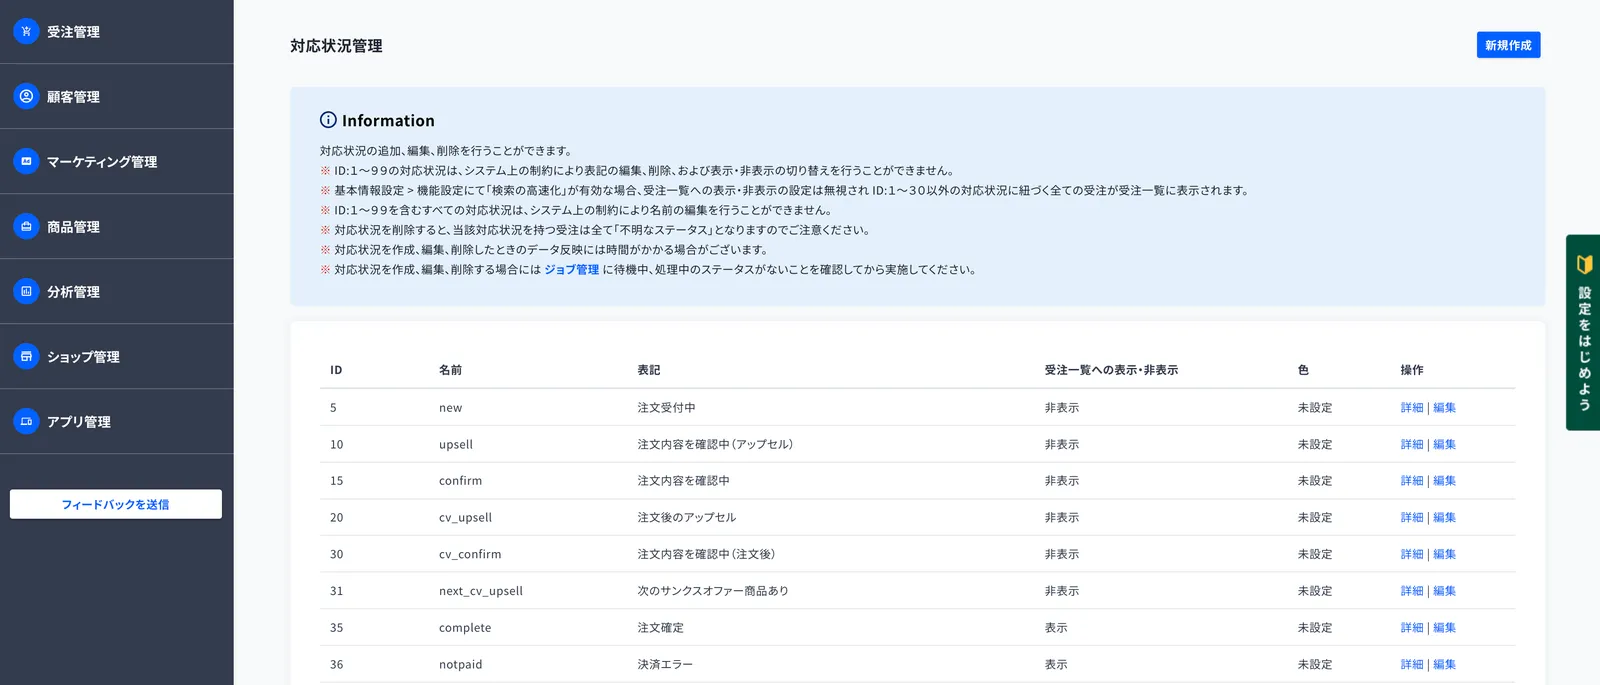
▼You can see the list of handling statuses in ecforce at Change settings > Orders / subscription orders > Manage handling statuses > Configure
4. Integration settings (cancellation)
Go to Store settings > External service integrations > select ecforce > Integration settings > Cancellation, and configure what happens on the ecforce side when a cancellation occurs
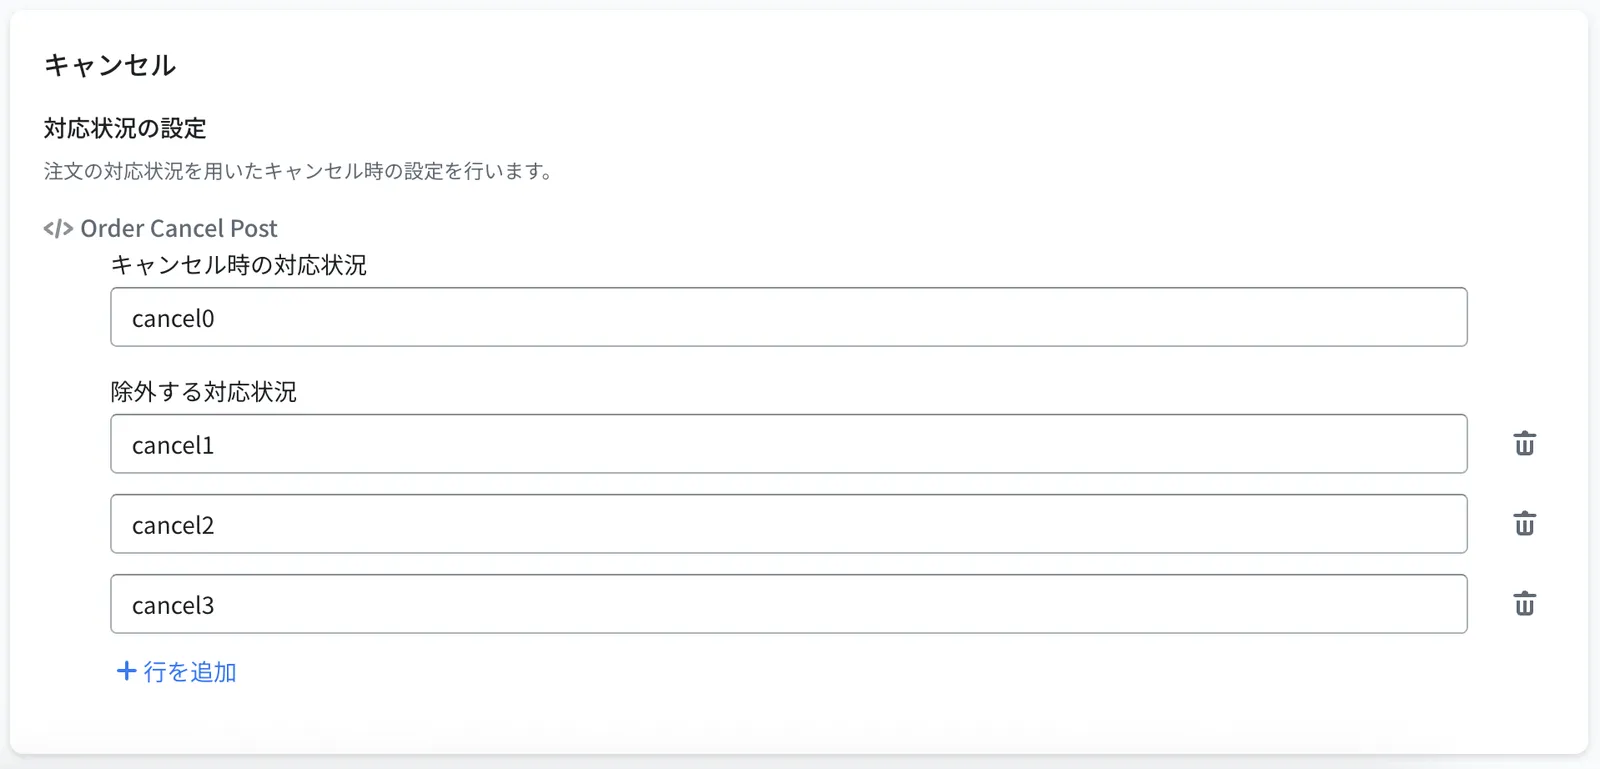
Field What to set Handling status on cancellation The delivery status applied in ecforce when Recustomer cancels the order automatically Excluded handling statuses Handling statuses you do not want to accept cancellations for. If a shopper requests a cancellation and the order has one of these statuses, the cancellation is rejected.
▼You can see the list of handling statuses in ecforce at Change settings > Orders / subscription orders > Manage handling statuses > Configure