NextEngine integration
1. Create a bulk order registration pattern in NextEngine
In the NextEngine admin, go to Settings > Orders > Bulk order registration patterns
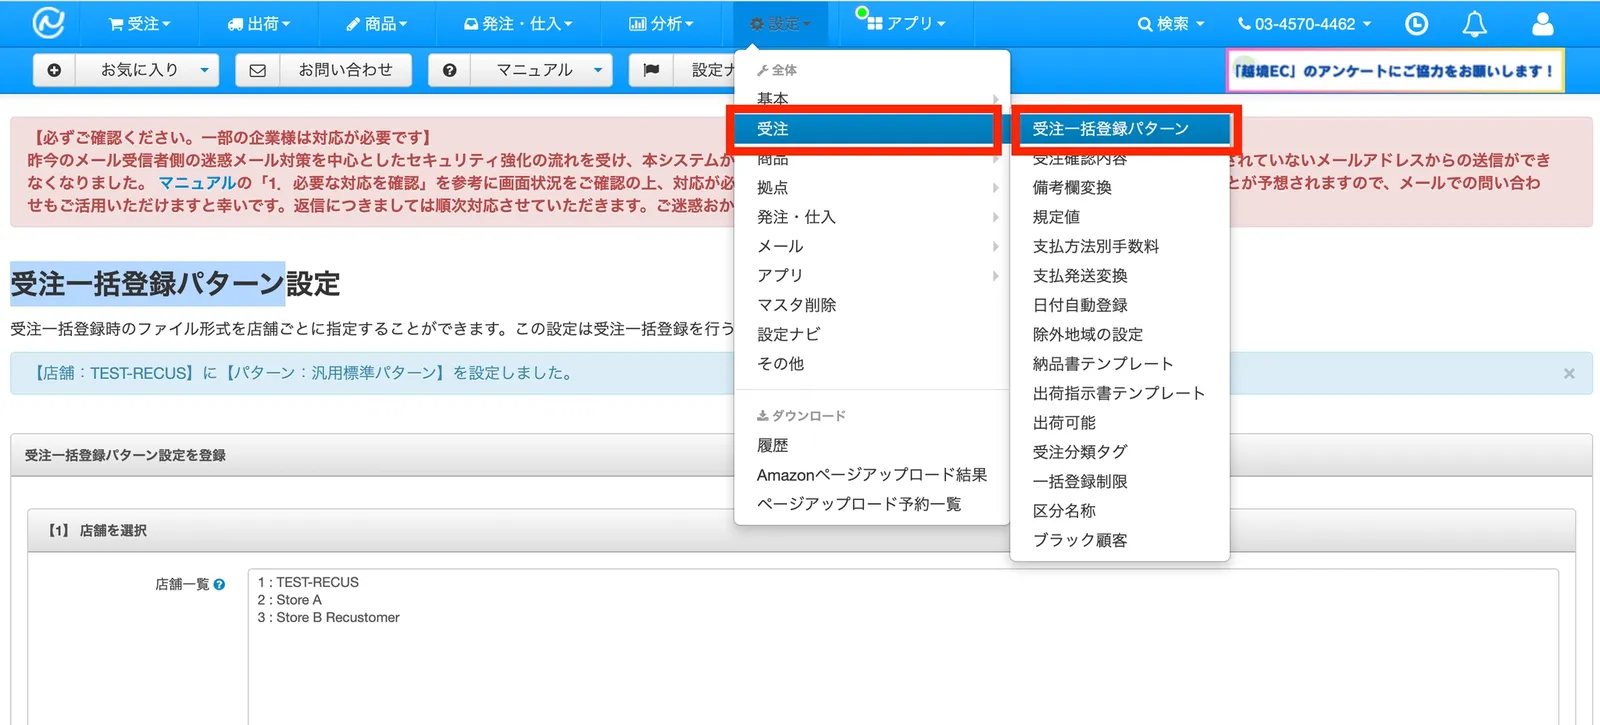
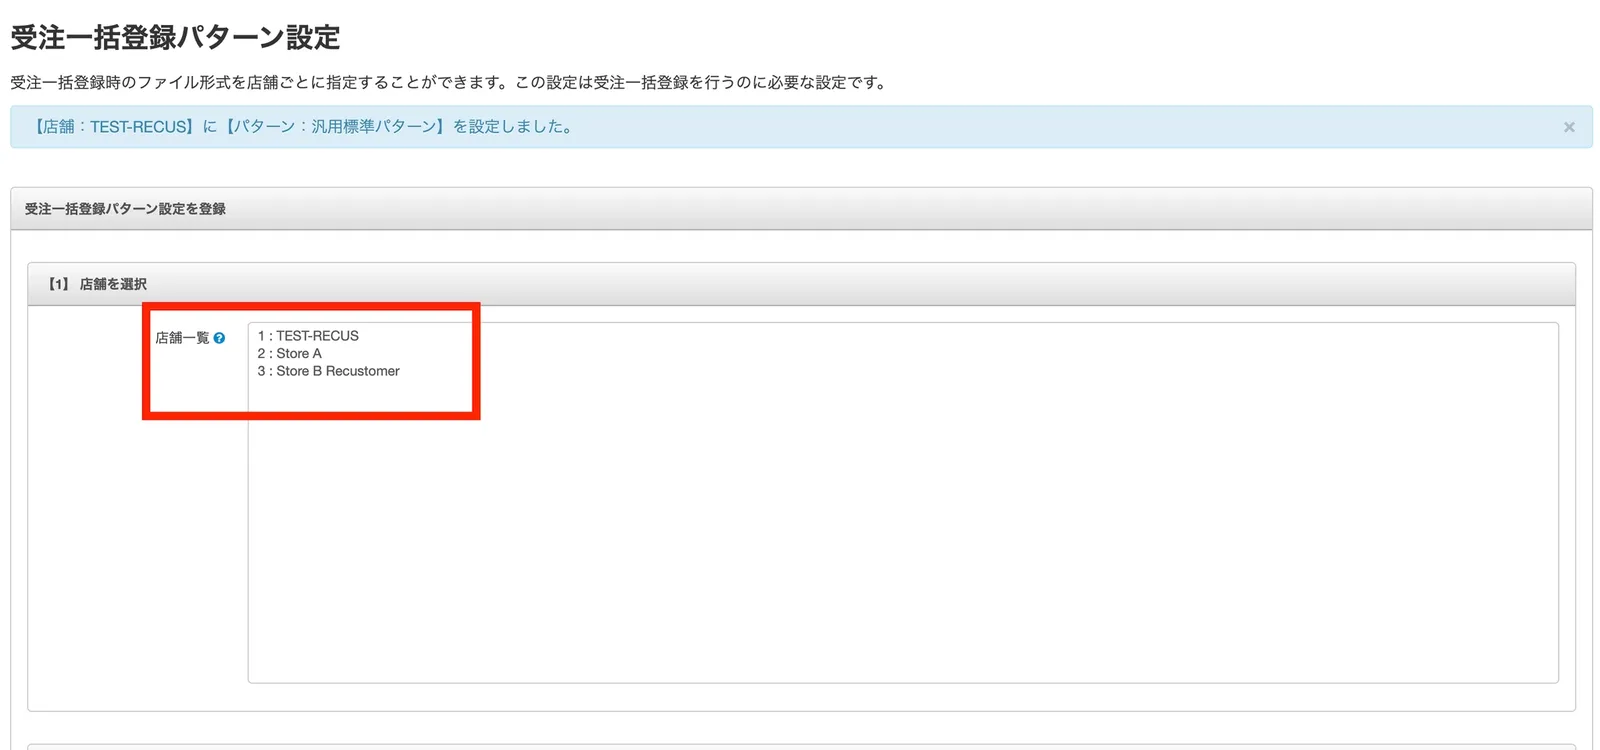
Select the shops whose orders you want to import into Recustomer (that is, the shops you want to accept cancellations for)
Select the file pattern 汎用標準パターン (general standard pattern)
Give the pattern a recognizable name

2. Authenticate in Recustomer
Purchase the app ECサイト購入体験プラットフォームRecustomer from the following URL
In Recustomer, go to Settings > External service integrations > Integrations > NextEngine
Click Go to the NextEngine app store
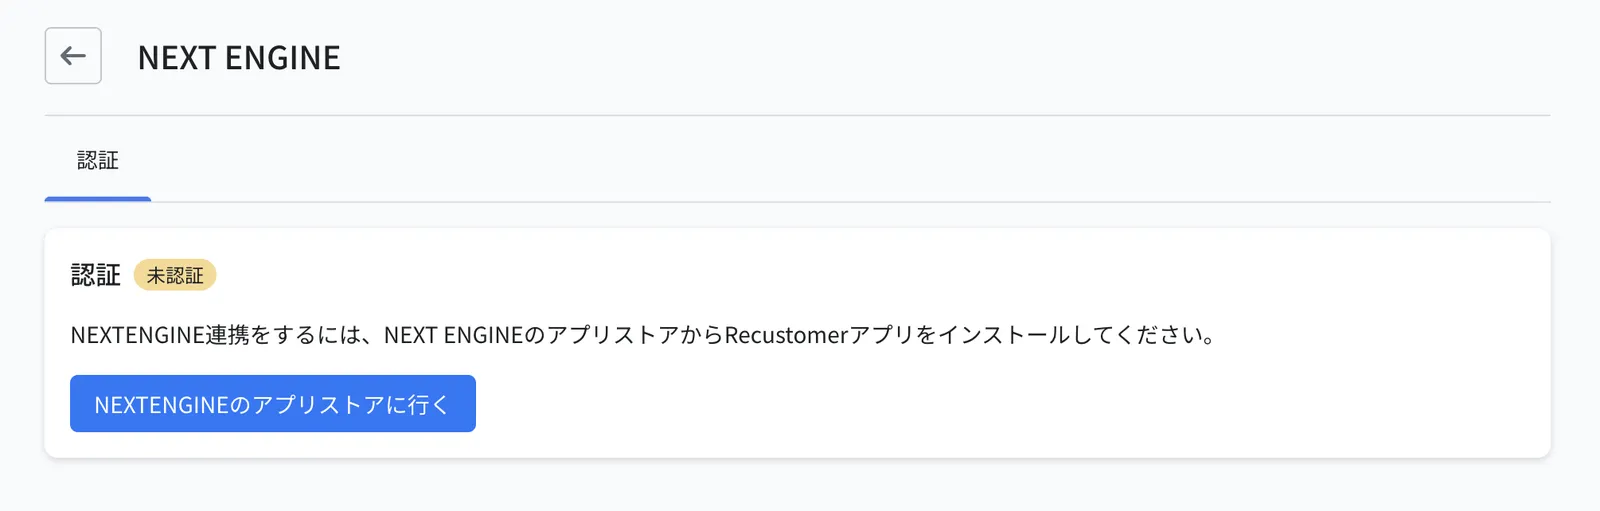
The NextEngine sign-in screen opens. Sign in.
Go back to Settings > External service integrations > Integrations in Recustomer. The setup is complete when the status shows Authenticated.
3. Configure the shops to connect
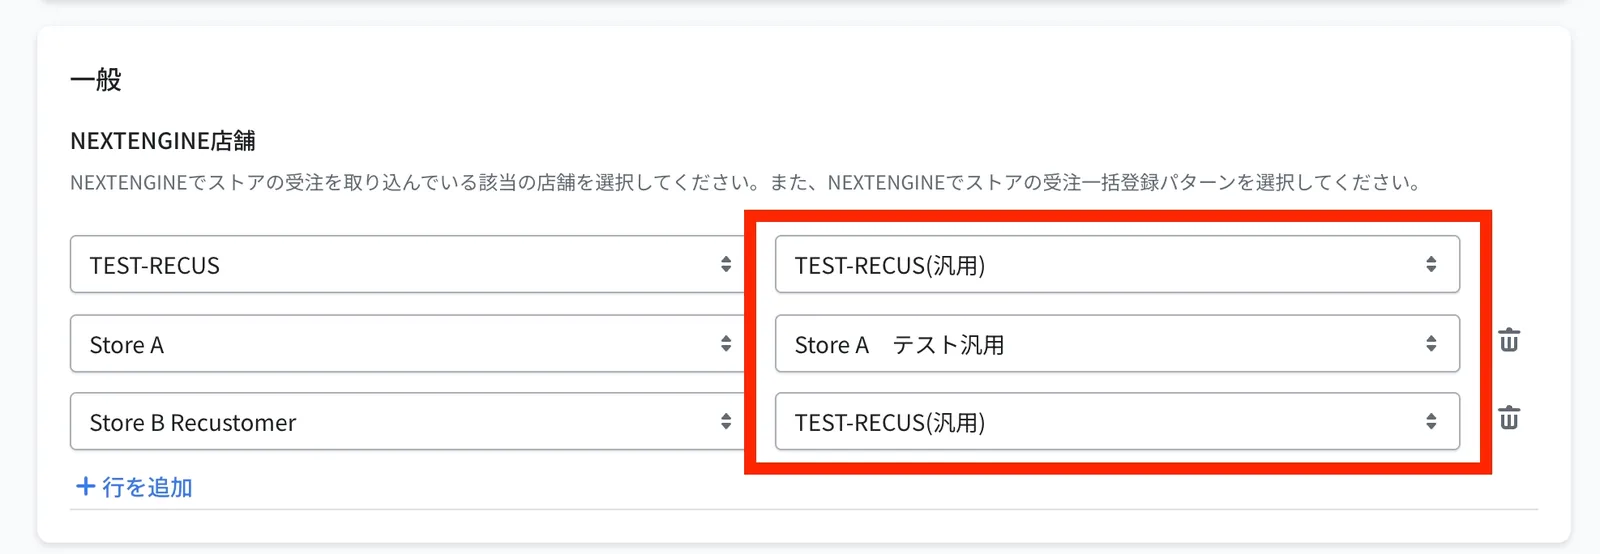
On the left side of NextEngine shops, select the shops whose orders you want to import into Recustomer (that is, the shops you want to accept cancellations for)
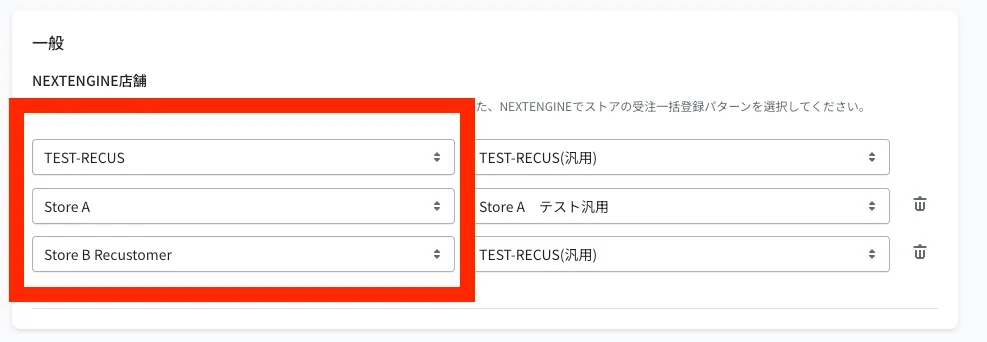
On the right side, select the bulk order registration pattern you created in step 4 of section 1
Important
The shop selected for bulk order registration must match the shop registered in Recustomer.
Click Save at the top right
4. If you also use Shopify, align the order number format
When you use Shopify as well, Recustomer matches orders on the assumption that the Shopify order number and the NextEngine order number are exactly identical, including the leading hash (#). If they differ, shoppers get an error and cannot find their order on the cancellation request page.
If you use an order number prefix or suffix in Shopify (such as #), configure the following in NextEngine.
Open the NextEngine app Shopify用 自動連携アプリ (Shopify automatic integration app)
Click 店舗登録 (register shop) or 店舗変更 (change shop) for the target shop in the shop list
On the shop information screen, check プリフィックスとサフィックスを付与 (apply prefix and suffix) and save
Tip
To check whether a prefix or suffix is in use, see the NextEngine manual: "Adding a shop / changing shop information > (Supplement) How to check prefixes and suffixes".