Operational test
Once the setup is complete, create a test order and walk through the whole flow, from the cancellation request to the result being reflected in your connected system.
Test steps
Create a test order in the system your orders are imported from
※Make sure the test order has a shipping address, a billing address, and an email address all filled in.
※The order import source is the system you selected at "Settings > External service integrations > Data integration settings > Order Importer".
Open the shopper-facing cancellation request page in your browser
※You can find the URL at "Settings > Shopper portal > Domain > Return and cancellation request page URL".
Enter the order number and look up the test order you created in step 1
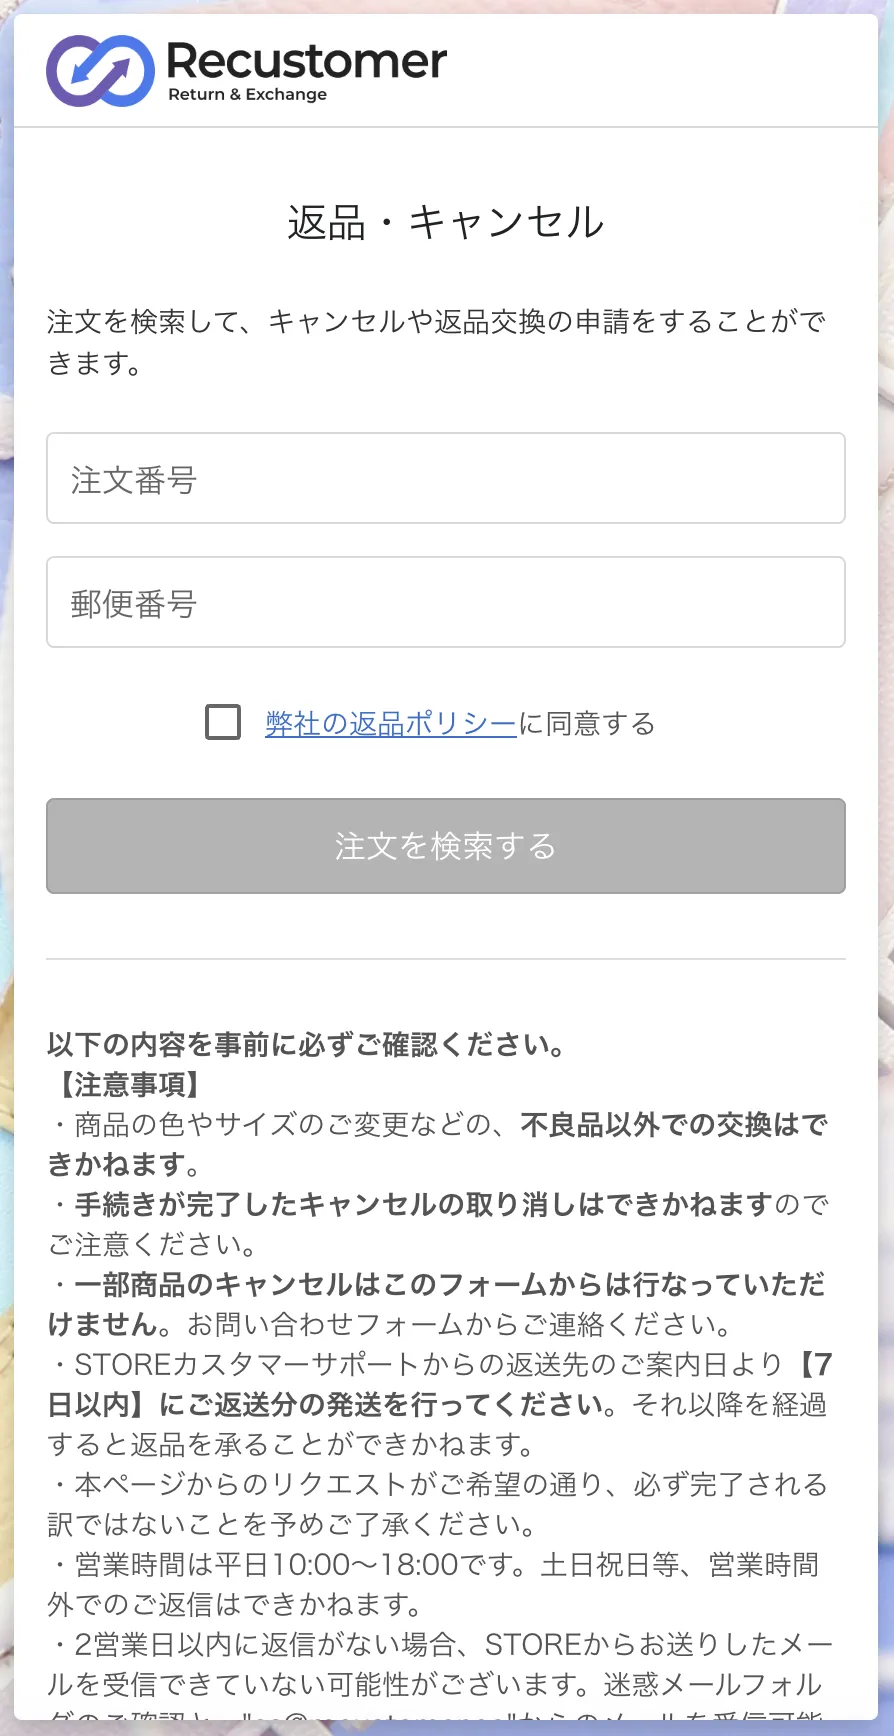
Tip
If the order is not found, see The request page says the order cannot be found in the FAQ.
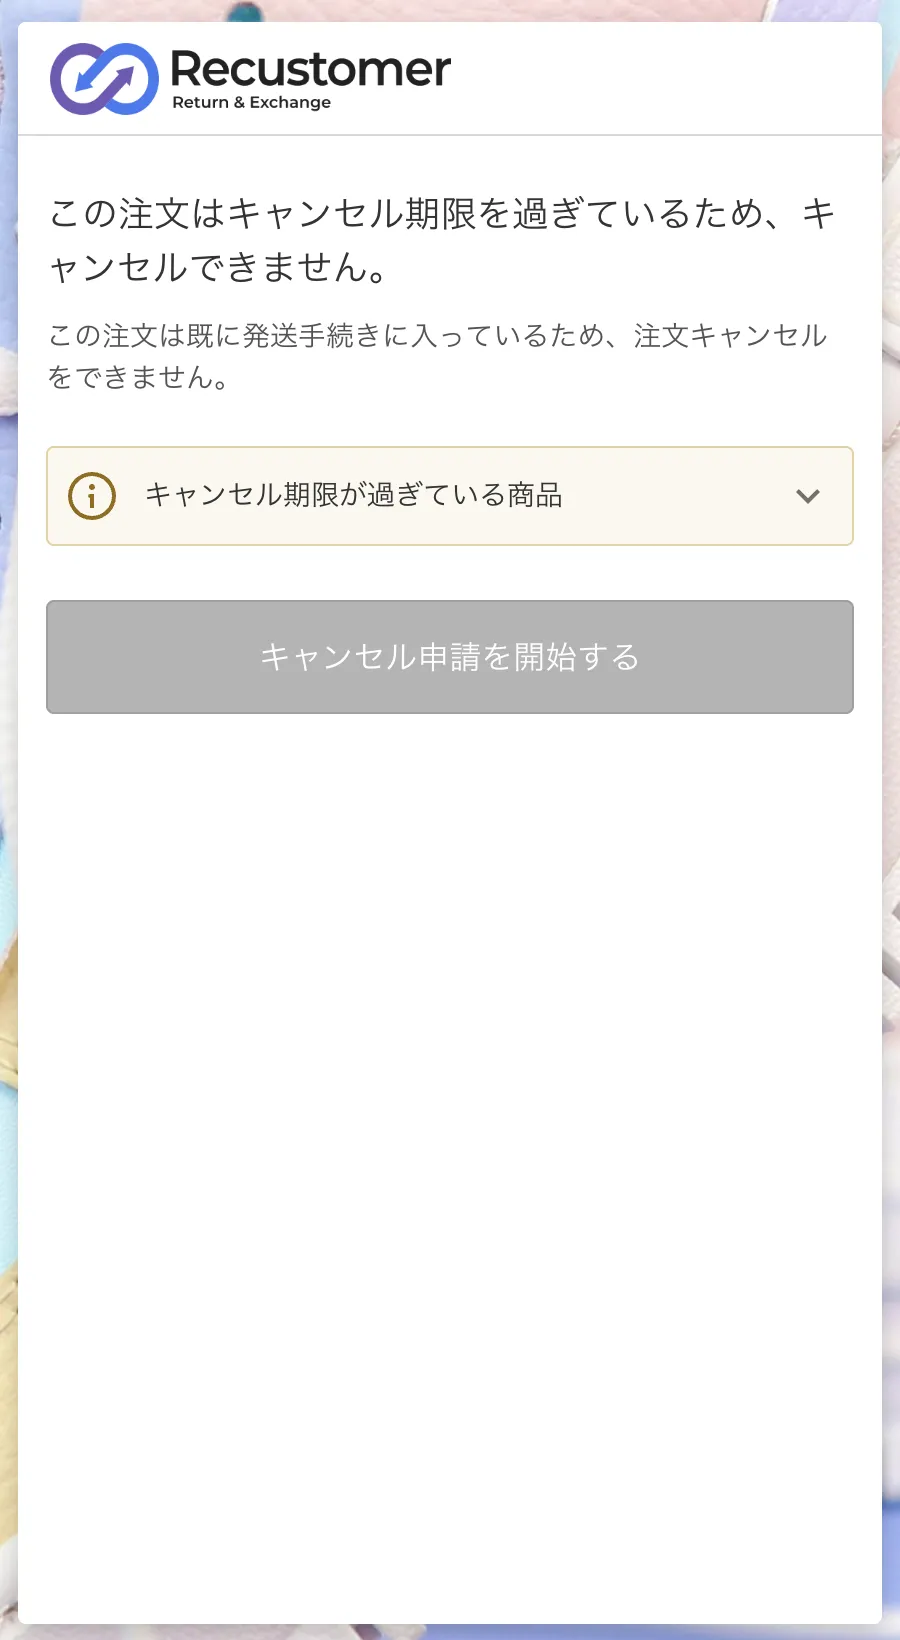
If you have set a cancellation deadline, check that requesting after the deadline shows the deadline-passed screen
Choose a cancellation reason and complete the request. The shopper then sees a completion screen.
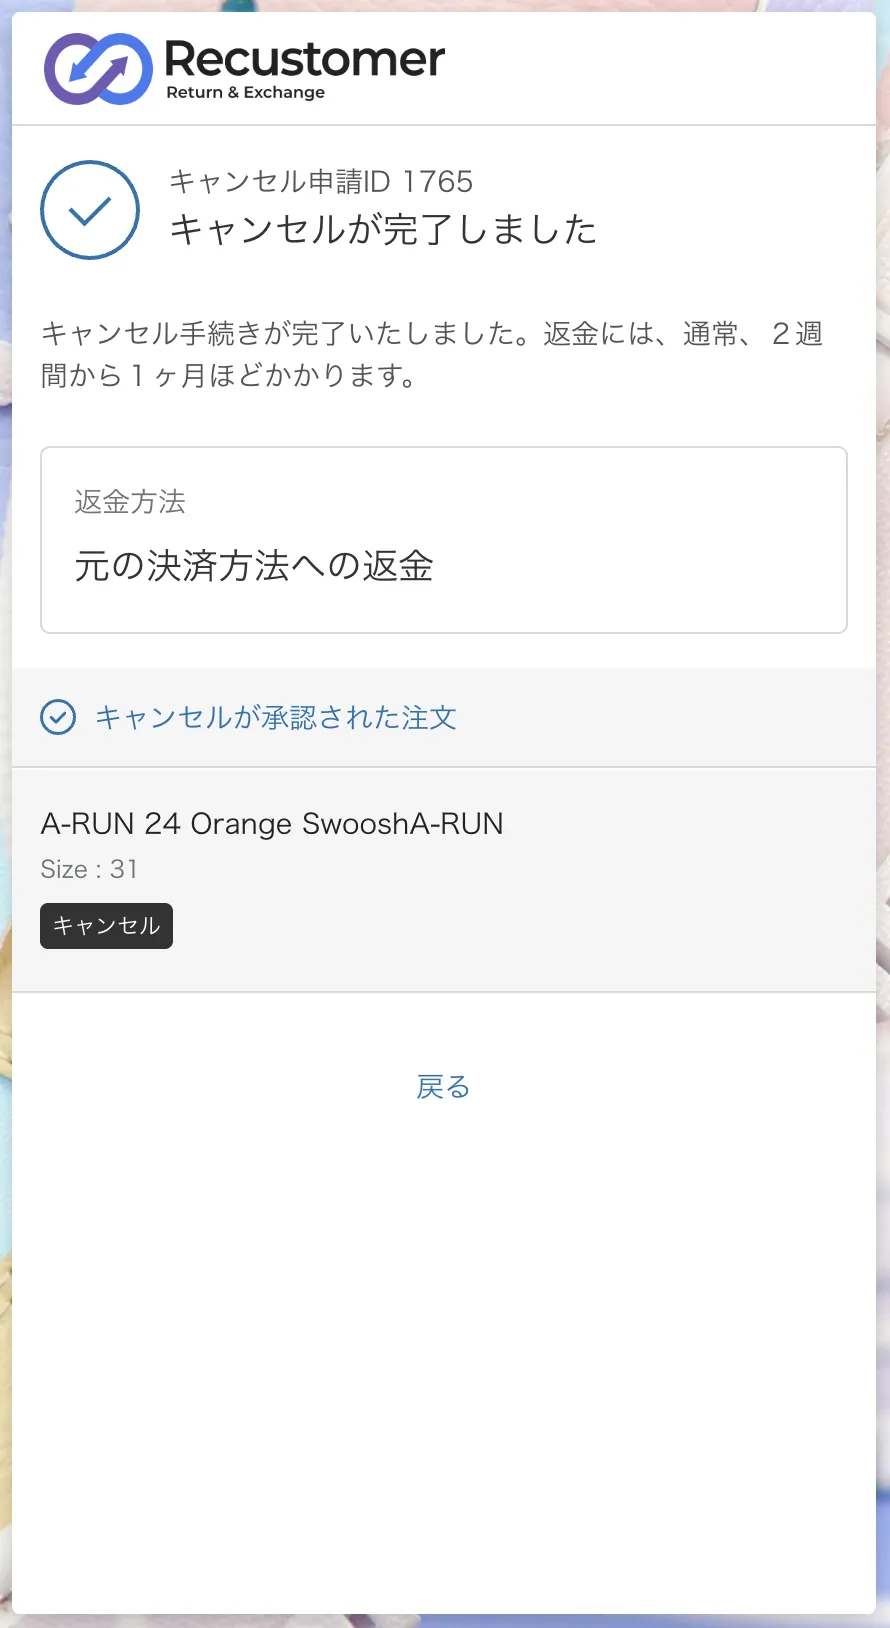
※You can change the wording on these screens in the language editor (Settings > Shopper portal > Customize > Language editor). See 2-4. Cancellation request page settings for details.
Tip
If "Refund to a bank account" appears as the refund method along the way, see The payment method shows as unknown and the refund stays unpaid in the FAQ.
In your connected system, check that the order's status has changed to cancelled
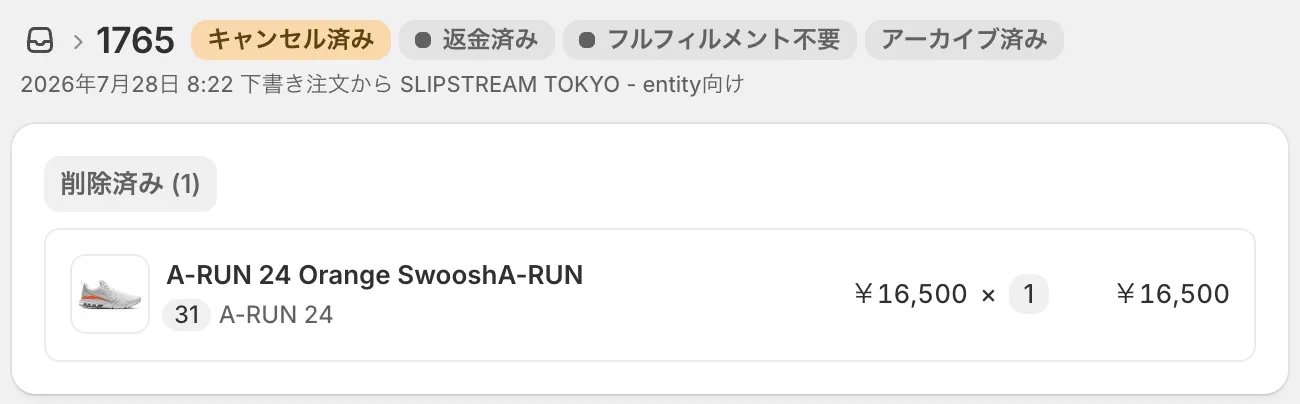
If your integration is Shopify or ecforce, check that the automatic refund has also completed in your connected system
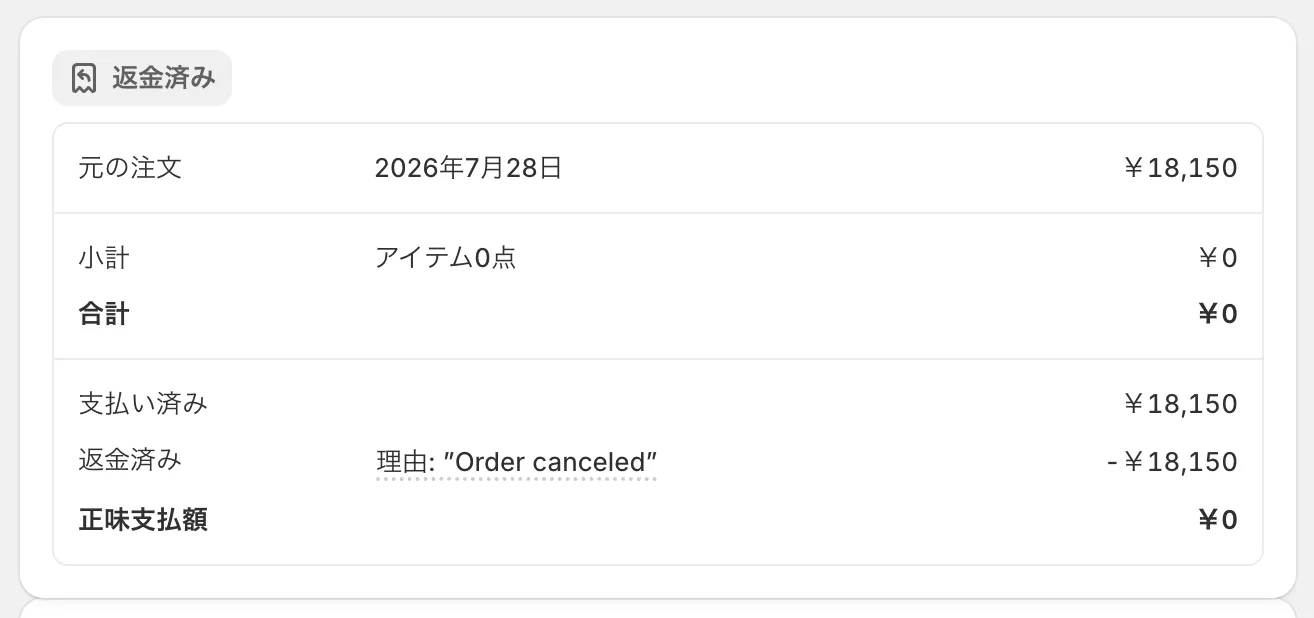
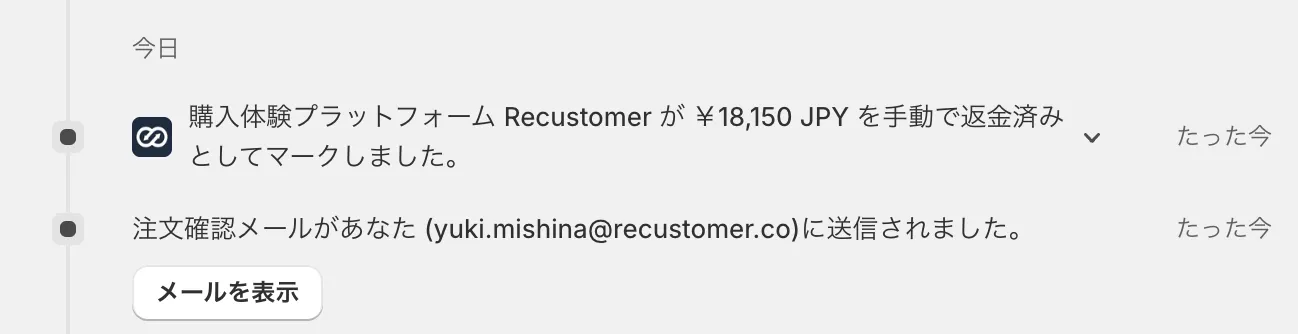
※If "Refund to a bank account" was shown as the refund method in step 5, no automatic refund is made.