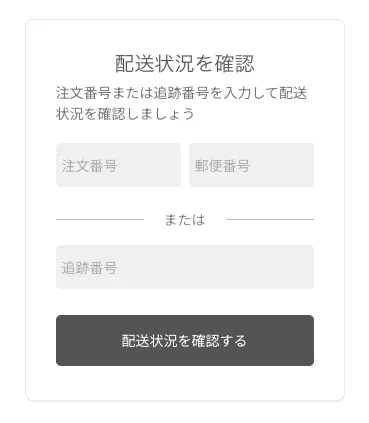
Build the tracking page
Create the page where shoppers check their delivery status. There are two ways to build it; choose one.
Comparing the two options
| Use the default theme | Use a Headless tracking page | |
|---|---|---|
| Overview | Use a theme provided by Recustomer with the tracking feature built in | Embed the tracking feature into any page on your own site |
| Work required | You can publish it just by uploading images in the admin dashboard | You need to build one tracking page on your own site (site-building knowledge is required) |
| Design freedom | The layout is fixed. Set the logo, images, and colors from the admin dashboard | You can design the whole page freely, including dynamic product recommendations powered by external recommendation apps |
Use the default theme
Go to Settings > Shopper portal > Tracking page
Choose "Use the default theme" and click "Edit theme"
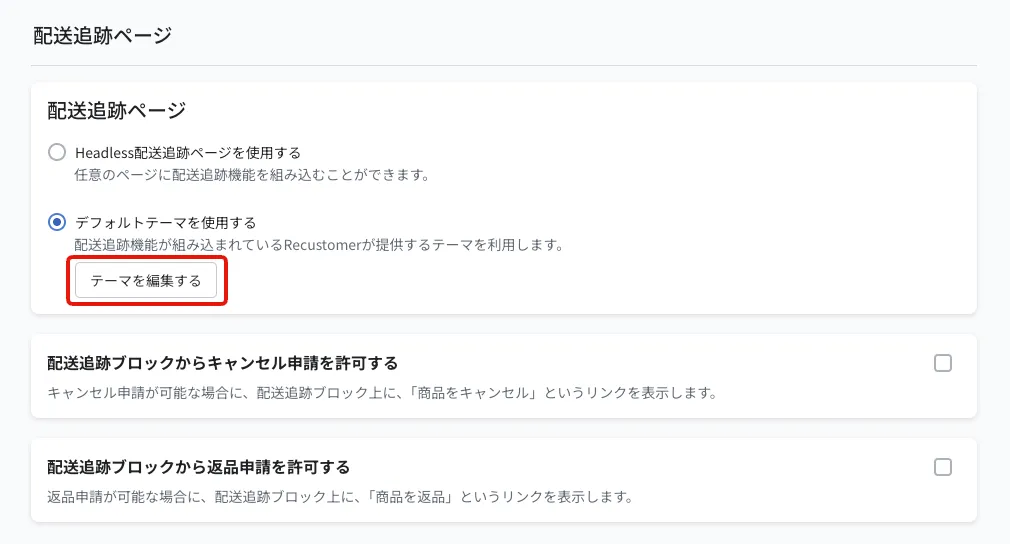
Upload your brand image, brand logo, banner images, and recommended products as needed
Banner images and recommended products are not updated automatically
To change what is shown, you need to upload the new content manually from this screen each time. If you publish time-limited content such as sale announcements, watch the timing of replacing and removing it.
Use a Headless tracking page
Go to Settings > Shopper portal > Tracking page
Choose "Use a Headless tracking page"
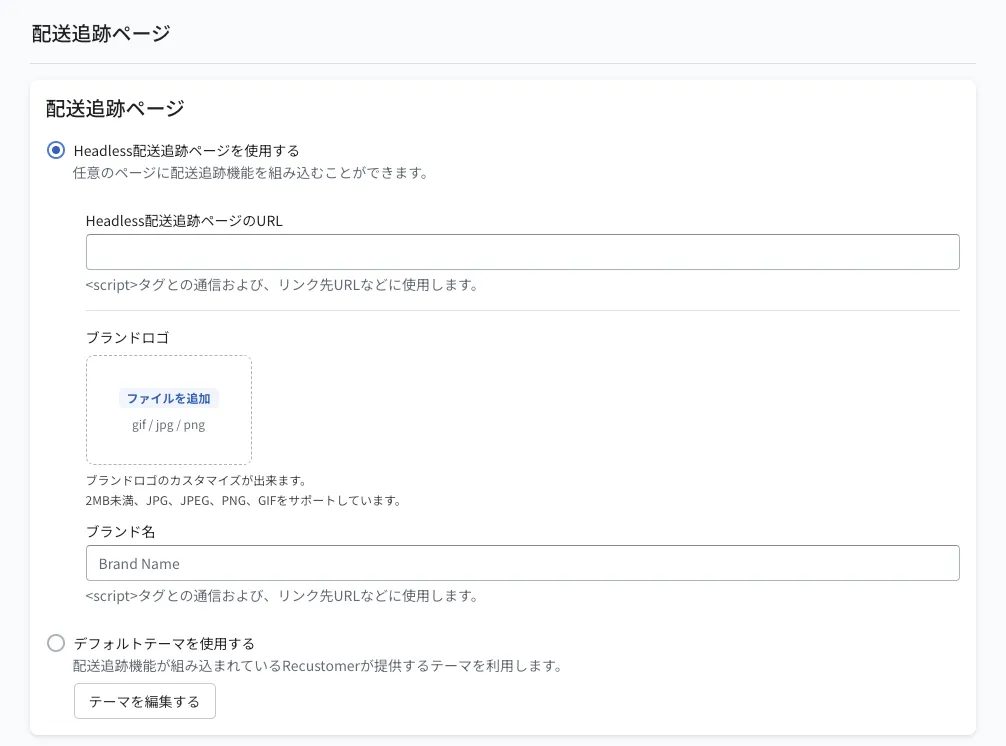
In "Headless tracking page URL", enter the URL of the page where the tracking block will be embedded
Set the brand logo and brand name, then click "Save" at the top right
"Steps to embed the tracking block into your Headless tracking page" appears; embed the displayed code into your site
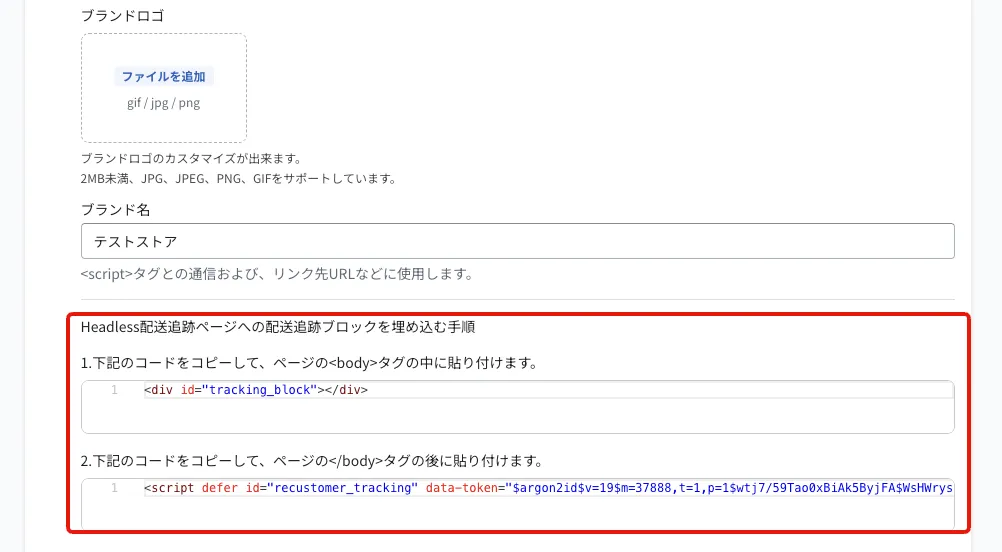
Confirm that the tracking block is shown on the page you specified in step 3